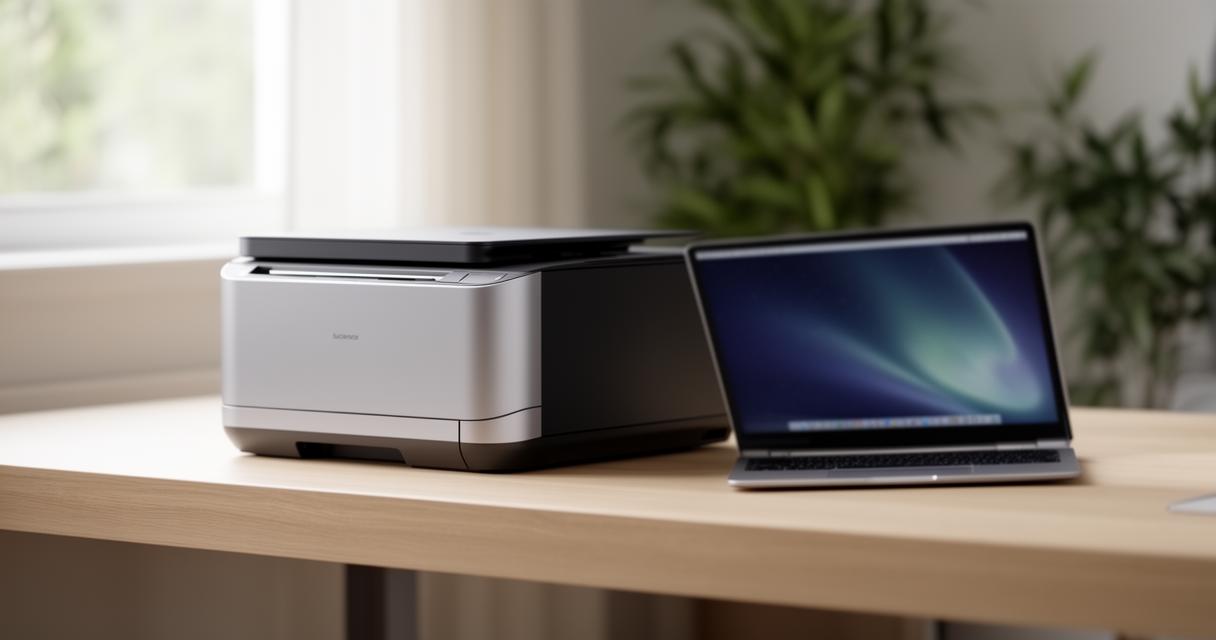
Few experiences can be as puzzling as seeing your printer clearly recognised by your computer, only to find it stubbornly refusing to produce a single page. This common issue affects countless users, whether at home or in the office, and can disrupt productivity and cause significant frustration. Fortunately, the solution often lies in updating or reinstalling printer drivers, which serve as the vital link between your device and the machine itself. By addressing driver-related problems, you can restore full functionality and get back to printing smoothly.
Understanding why your presence is recognised but not printing
When your computer displays your printer as connected and available, yet nothing emerges from the output tray, the underlying cause is frequently related to software rather than hardware. The device may appear online in your system settings, complete with the correct name and model, but this recognition does not always guarantee successful communication. Several factors can interrupt the printing process, even when the physical connection and visibility seem intact.
Common causes of printer recognition without print functionality
One of the most prevalent culprits behind this perplexing situation is outdated or corrupted printer drivers. Over time, operating system updates can render existing drivers incompatible, preventing the computer from sending print commands effectively. Additionally, incomplete driver installations or conflicts with other software can lead to a breakdown in communication, despite the printer being visible. Other contributing factors include issues with the print spooler service, which manages the queue of documents awaiting printing. If this service encounters an error or stops running, jobs may remain stuck without processing. Network connectivity problems can also play a role, particularly for wireless printers, where intermittent signals or incorrect settings disrupt the flow of data.
The Role of Printer Drivers in Communication Between Computer and Printer
Printer drivers function as translators, converting the data generated by your applications into a language the printer can understand. Without the correct driver, or if the driver is faulty, this translation process fails, leaving your print commands unexecuted. The driver also provides your operating system with information about the printer's capabilities, such as supported paper sizes, colour options, and resolution settings. When drivers become outdated, they may not align with recent changes to your operating system or the software you use daily, leading to compatibility issues. In some cases, a corrupted driver file can cause the system to send incomplete or garbled instructions, resulting in failed print attempts. Ensuring that your printer driver is current and properly installed is therefore essential for seamless operation.
How to Update Printer Drivers to Restore Printing Capability
Updating your printer drivers can often resolve the issue of a recognised but non-functional printer. This process involves replacing the existing driver software with the latest version, which includes bug fixes, compatibility improvements, and enhanced features. By keeping drivers up to date, you ensure that your printer can communicate effectively with your computer, regardless of recent operating system changes or software updates.
Locating and Downloading the Latest Printer Drivers from Manufacturer Websites
The most reliable source for printer drivers is the official website of your printer's manufacturer. Navigate to the support or downloads section, where you can search for your specific printer model. Be sure to select the driver that matches your operating system version, as using an incompatible driver can lead to further complications. Once located, download the driver package to a folder on your computer where you can easily access it. Many manufacturers provide an installation wizard within the download, which simplifies the update process by guiding you through each step. Avoid third-party driver download sites, as these can sometimes bundle unwanted software or provide outdated versions that fail to resolve your issue.
Installing updated drivers through device manager and control panel
After downloading the latest driver, you can install it using the Device Manager, a built-in tool in Windows that allows you to manage hardware components. Open Device Manager by right-clicking the Start button and selecting it from the menu. Locate your printer under the Printers or Print queues section, right-click on it, and choose Update driver. Select the option to browse your computer for driver software, then navigate to the folder where you saved the downloaded file. Follow the prompts to complete the installation. Alternatively, you can access the Control Panel, select Devices and Printers, right-click your printer, and choose Properties. From there, navigate to the Hardware tab and select Update Driver. Once the installation finishes, restart your computer to ensure the changes take effect. After rebooting, test the printer by sending a simple document to print, verifying that the issue has been resolved.
Reinstalling printer drivers when updates don't resolve the problem
If updating the driver does not restore printing functionality, a complete reinstallation may be necessary. This approach removes any corrupted or conflicting files and provides a fresh start for the driver software. Reinstalling drivers is particularly effective when the original installation was incomplete or when multiple drivers for the same printer are causing confusion within the system.
Properly removing existing printer drivers before reinstallation
Before installing a new driver, it is crucial to remove the existing one thoroughly. Simply uninstalling the printer from the Devices and Printers section may leave behind residual files that interfere with the new installation. To ensure a clean removal, open Device Manager and locate your printer. Right-click on it and select Uninstall device, making sure to tick the option to delete the driver software for this device. Confirm the action and allow the system to complete the uninstallation. Next, open the Control Panel, navigate to Devices and Printers, and remove any remaining instances of the printer by right-clicking and selecting Remove device. For a more comprehensive cleanup, consider using the manufacturer's dedicated driver removal tool, which can eliminate all associated files and registry entries. After completing these steps, restart your computer to finalise the removal process.
Step-by-Step Guide to Fresh Driver Installation and Printer Configuration
With the old driver fully removed, you can proceed to install the latest version. Ensure your printer is connected to the computer via USB or network cable, and that it is powered on. Run the driver installation file you downloaded earlier, following the on-screen instructions provided by the installation wizard. During the setup, you may be prompted to select installation options, such as whether to install additional software or set the printer as the default device. Make your selections based on your preferences and allow the installation to complete. Once finished, the wizard will typically prompt you to print a test page, which helps confirm that the printer is communicating correctly with your computer. If the test page prints successfully, your printer is now fully operational. Should any issues persist, double-check that the printer is online and not in sleep mode, and verify that there are no jobs stuck in the print queue. You can access the print queue by opening Devices and Printers, right-clicking your printer, and selecting See what's printing. Clear any pending jobs and attempt to print again. If problems continue, consult the manufacturer's support website for model-specific troubleshooting guidance.