
A write-protected USB key can be one of the most frustrating obstacles a Windows user faces. Whether you have stumbled upon an old drive you can no longer write to, or your storage device has suddenly become inaccessible, understanding what is happening — and how to recover your files safely — is essential before you take any drastic action such as formatting.
In short
- Write protection on a USB drive is a security feature that prevents data modification, often triggered by corrupted files, malware, or incorrect registry settings.
- Before troubleshooting, check for a physical lock switch on the device, as toggling it is the simplest way to restore write access.
- Always prioritize data recovery before attempting to format, as formatting will permanently erase all contents on the drive.
- You can often extract files from a read-only drive using standard copy-paste methods or more resilient tools like the ‘robocopy’ command in the Windows Command Prompt.
- If the drive remains locked after file extraction, you can remove write protection by modifying the ‘WriteProtect’ value in the Windows Registry or by clearing read-only attributes using the ‘diskpart’ utility.
- Proactive maintenance, such as regular virus scanning and safe hardware removal, helps prevent future storage access issues.
Understanding write protection on your usb drive
When Windows refuses to let you modify or delete files on a USB drive, it is usually because the device has been placed into a write-protected state. This protection mechanism is designed to prevent accidental data loss or corruption, but it can quickly become a barrier when you need to reformat or update the contents of your drive. Before attempting anything else, it is worth taking a moment to understand what is actually causing the lock.
Why windows restricts access to your storage device
There are several reasons why Windows might restrict access to a USB drive. Corrupted system files, malware infections, and incorrect registry settings are among the most common software-side culprits. When a drive becomes infected or its file system becomes damaged, the operating system may automatically impose a read-only status as a protective measure. In some cases, the drive may even display as a RAW file system, meaning Windows can no longer recognise its partition structure at all. These software-related causes are generally reversible through the right command prompt utilities or registry adjustments.
Identifying hardware vs software protection locks
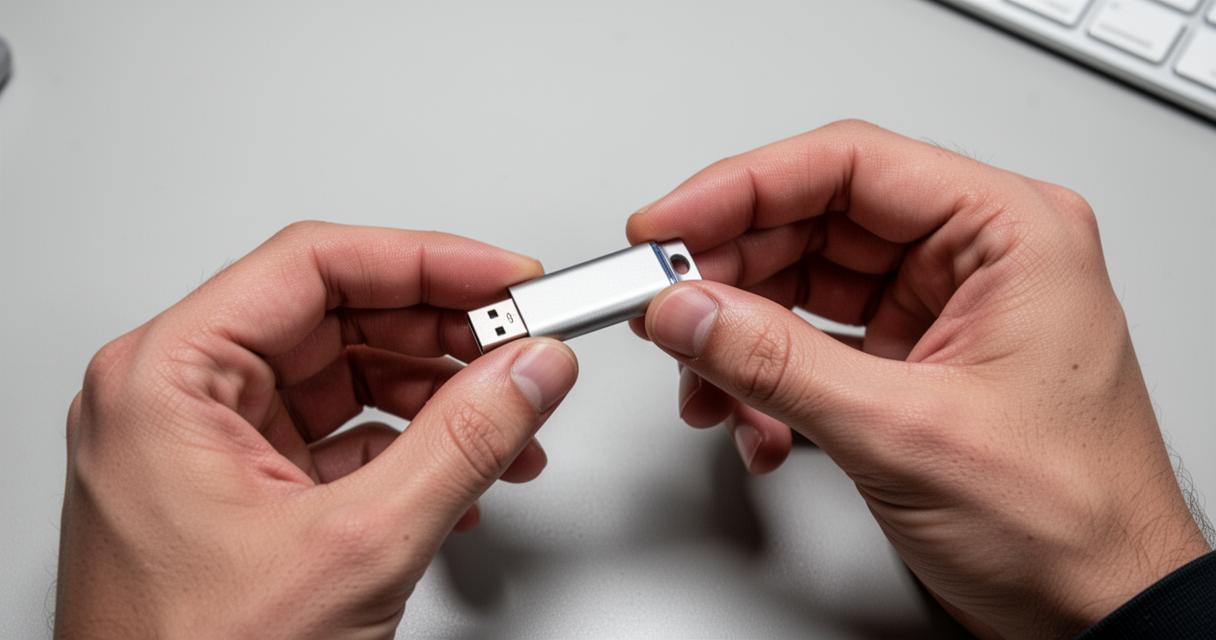
Not every write protection issue is rooted in software. Many USB drives and SD cards include a physical lock switch — a small slider on the side of the device that, when engaged, prevents any data from being written or deleted. This is often the first thing to check, as it is the simplest fix: sliding the switch back to its unlocked position immediately restores full access. If no such switch exists, or if toggling it makes no difference, the problem is almost certainly a software or registry-level restriction. Distinguishing between these two scenarios early on will save you considerable time during the troubleshooting process.
Securing your files before attempting to format
Regardless of the cause, the golden rule of USB drive troubleshooting is always the same: rescue your data before you do anything else. Formatting a drive — even a protected one — will erase its contents, and depending on the state of the file system, some files may be unrecoverable afterwards. Taking the time to extract your files is an investment in peace of mind.
Methods for Copying Data from a Locked USB Key
When a USB drive is write-protected, you can often still read its contents even if you cannot modify them. The simplest approach is to open File Explorer and attempt to copy the files directly to your desktop or another storage location. If the drive is readable, this may be all you need. However, if the file system is corrupted or the drive is reporting errors, standard copy-and-paste may fail partway through. In such situations, dedicated data recovery software can scan the drive at a deeper level, restoring inaccessible files that the operating system can no longer see through normal means. These tools are particularly useful for handling raw file systems and recovering files from drives with file system errors or capacity anomalies.
Using command prompt for safe file extraction
The Windows Command Prompt offers a handful of utilities that can assist with safe file extraction from a problematic drive. The robocopy command, for instance, is far more resilient than a standard drag-and-drop operation: it can skip over unreadable files, log errors, and resume interrupted transfers. Simply opening Command Prompt as an administrator and directing robocopy toward your USB drive’s letter can make the difference between a successful rescue and a frustrating dead end. This approach is especially helpful for partition management situations where only part of the drive is accessible.
How to Format a Protected USB Key Safely
Once your files are safely backed up, you can proceed with formatting the drive. Windows offers several built-in tools capable of removing write protection and restoring your USB key to a fully usable state. The method you choose will depend on whether the issue is registry-based or attribute-based.
Modifying windows registry to remove write protection
If standard formatting attempts fail with an error message, a registry modification may be necessary. This is a more advanced step that requires caution, as making incorrect changes to the Windows registry can affect system stability. To proceed, open the Registry Editor by typing regedit into the Windows search bar and navigating to the storage device policies key. Within this key, look for a value named WriteProtect and change its data from 1 to 0. After restarting your computer, Windows should recognise the drive as writable again. This method is particularly effective when the write protection stems from a previous malware infection or an unintended policy change.

Clearing read-only attributes using diskpart
The diskpart command is one of the most powerful tools available for managing external storage in Windows. To use it, open Command Prompt as an administrator and type diskpart, then press Enter. Once inside the utility, type list disk to see all connected drives, then select your USB drive using select disk followed by the correct number. From there, type attributes disk clear readonly to remove the write-protection flag. After exiting diskpart, you can return to File Explorer or use the format command to complete the process. This method is reliable for fixing a USB read-only status that persists even after checking the physical switch.
Taking a proactive approach to USB drive maintenance — which includes regularly scanning for viruses, practising safe hardware removal, and backing up important files — will significantly reduce the likelihood of encountering these issues in the future. Formatting a protected USB key in Windows is entirely achievable with the right sequence of steps, and the process becomes far less stressful when your data is already safely out of harm’s way.